In the back corner of the classroom near the sinks I've set up a "distressing station" with basins of thinned-down ink and brown tempera paint. Stacks of newspapers are handy to catch any extra spills or drips. I've also turned the drying rack to the side so students could go directly from the wet area into the rack without having to carry their projects all around the room.
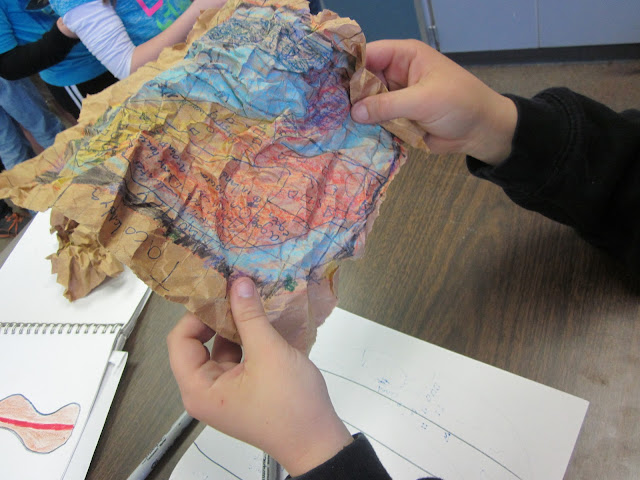
First step in distressing is crumpling. 12 times to scrunch up and flatten out each map until it sounds like fabric and it soft to the touch.
Then to the station. A dip in a basin of plain water and a squeeze to remove the extra water, students apply black or brown (or both) to the maps, then into the drying rack with a piece of poster board under the scrap colored paper to hold it up in the wire racks.

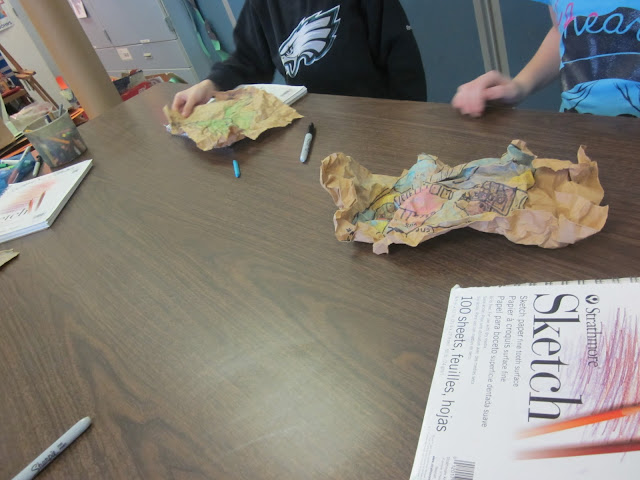
Here are a few dry maps....
A bit of creative writing in the form of museum labels will be our conclusion activity, and we'll probably mount these to some colored paper also.


No comments:
Post a Comment